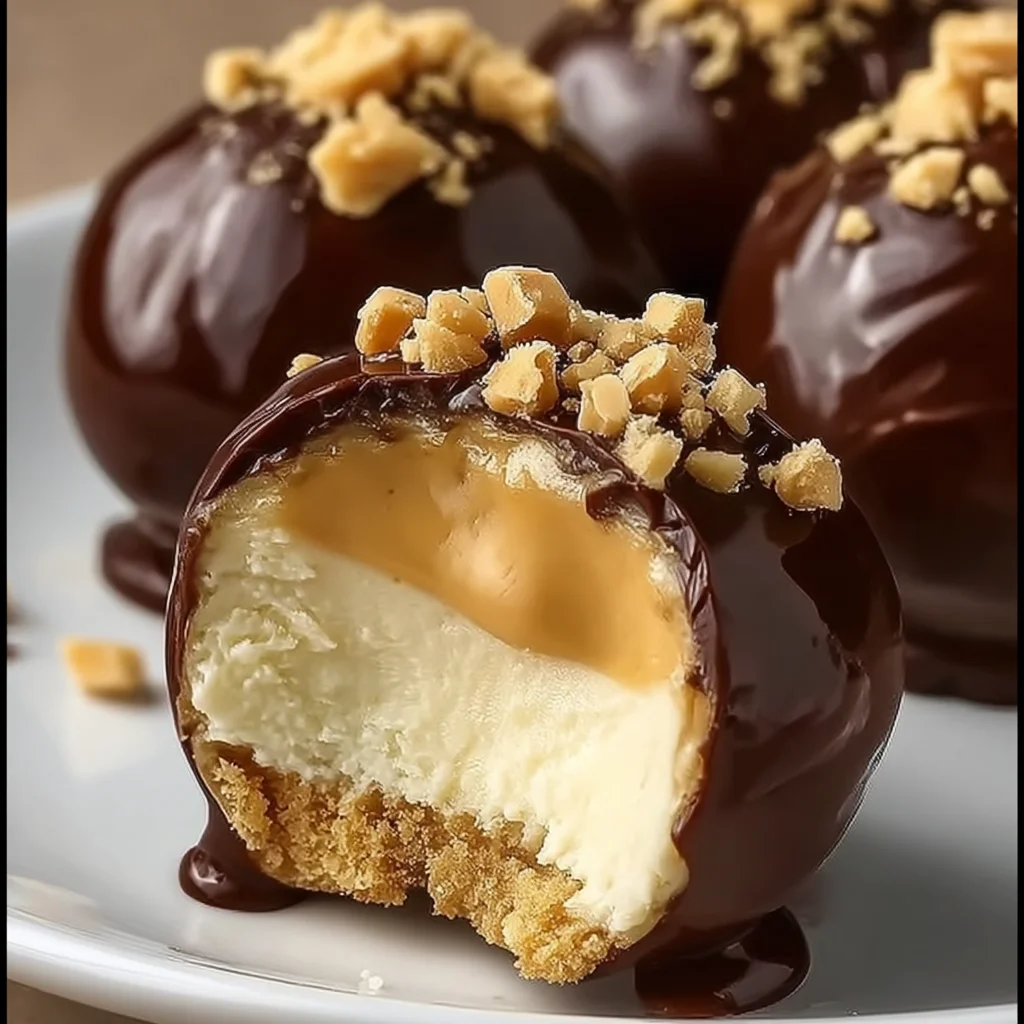
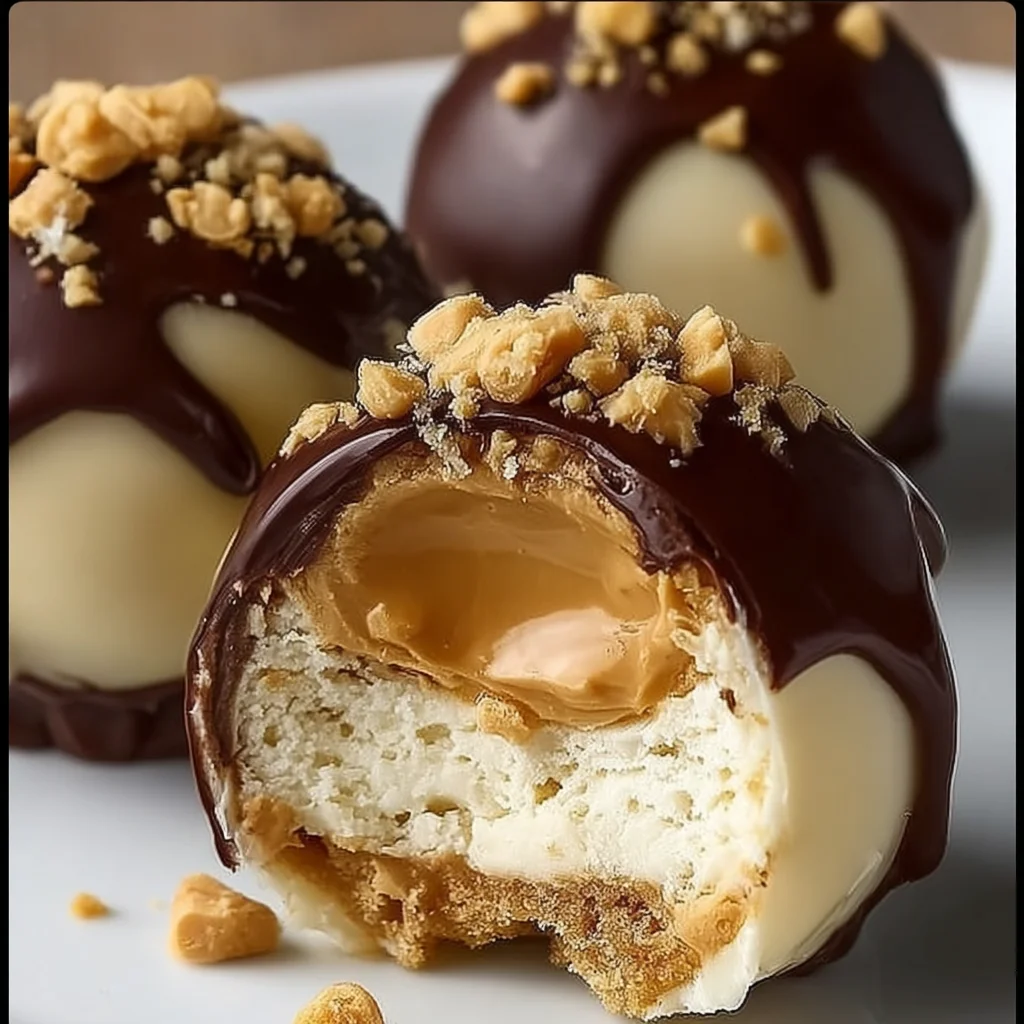
Hey there, friends! Remember those simple, delightful treats from childhood that just made you happy? For me, it was anything involving peanut butter and something sweet. There’s just something so comforting about that classic combo, right? Well, today I’ve got a recipe that captures all that cozy nostalgia in the most delicious, bite-sized package imaginable: No-Bake Peanut Butter Cheesecake Balls!
These little gems are seriously easy – we’re talking minimal effort for maximum reward. No oven required, just a few simple ingredients and a little bit of rolling fun. They’re rich, creamy, bursting with peanut butter flavor, and perfect for satisfying that sweet tooth without a fuss. Whether you’re making them for a party, a simple dessert, or just because you need a little pick-me-up, these are guaranteed to bring a smile to your face. Let’s dive in!
Why You’ll Love This Recipe
- Fast: From mixing bowl to delicious treat in under an hour, including chilling time!
- Easy: Seriously, if you can stir, you can make these. No fancy equipment needed.
- Giftable: Pack them up in a cute box or tin and you’ve got the perfect homemade gift for any occasion.
- Crowd-Pleasing: Who doesn’t love peanut butter and cheesecake? These disappear in a flash!
- No Bake: Keep your kitchen cool and enjoy deliciousness without turning on the oven.
Ingredients
Gather ’round, here’s what you’ll need for these little bites of heaven. Chances are, you already have most of these in your pantry!
- 8 ounces cream cheese, softened: Make sure this is really soft! Leave it out on the counter for an hour or two before you start. It makes all the difference in getting a smooth mix.
- 1 cup creamy peanut butter: Your favorite brand will work here. Creamy gives these a super smooth texture, but you could experiment with crunchy if you like a bit of texture!
- 1/2 cup powdered sugar: Also known as confectioners’ sugar. This is what gives them that perfect sweetness and helps with the texture.
- 1 teaspoon vanilla extract: A splash of vanilla just enhances all those lovely flavors. Don’t skip it!
- 1/2 cup graham cracker crumbs, plus additional for coating: These add structure and that classic “cheesecake crust” vibe without needing an actual crust. You can buy them pre-crushed or make your own by whizzing graham crackers in a food processor or crushing them in a bag.
- 1/4 cup mini chocolate chips (optional): Because peanut butter and chocolate are a match made in heaven! Mini chips are great because they distribute nicely without making the balls hard to roll.
- Pinch of salt: Just a tiny bit. It really helps to balance the sweetness and bring out the peanut butter flavor. Trust me on this one!
- Melted chocolate (optional, for dipping or drizzling): This is totally optional but adds an extra layer of decadence. Milk, dark, or semi-sweet – use your favorite!
How to Make It
Okay, let’s get rolling! This is the fun part, and it comes together so quickly.
1. First things first, grab a large bowl. Make sure that cream cheese is nice and soft! Add your softened cream cheese and the creamy peanut butter to the bowl. Get out your hand mixer (or a sturdy spoon and some elbow grease!) and beat them together until you have a super smooth, creamy mixture. No lumps allowed!
2. Now, add the powdered sugar, vanilla extract, that first 1/2 cup of graham cracker crumbs, and that essential pinch of salt. Mix everything together until it’s just combined and looks uniform. Don’t overmix, just get everything happy together.
3. If you’re adding those lovely mini chocolate chips, gently fold them into the mixture now using a spoon or spatula. You don’t want to beat them in, just distribute them throughout.
4. Time to form the balls! Grab a tablespoon – this helps keep them all roughly the same size. Scoop out a spoonful of the mixture and gently roll it between your palms to form a smooth ball. Place each ball on a tray or plate lined with parchment paper. The parchment keeps them from sticking.
5. Now for the coating! Pour some of those extra graham cracker crumbs into a shallow dish or bowl. Roll each ball in the crumbs, turning to coat completely. Once coated, place them back on the parchment-lined tray. Pop the whole tray into the refrigerator for at least 30 minutes. This chilling time is super important – it helps them firm up so they hold their shape and are the perfect texture to eat (or dip!).
6. If you’re going the extra mile with chocolate (and I highly recommend it!), melt your chocolate according to the package instructions. You can use the microwave or a double boiler. Once melted, you can either dip the chilled balls halfway or fully into the chocolate, or just drizzle chocolate over the tops. If dipping, let the excess drip off before returning them to the parchment paper. Let the chocolate set completely at room temperature or pop them back in the fridge briefly until the chocolate is firm. And that’s it! You’ve made magic.
Substitutions & Additions
Feel free to get creative and make these your own! Here are a few ideas:
- Different Coatings: Instead of (or in addition to) graham cracker crumbs, try rolling them in crushed peanuts, shredded coconut, cocoa powder, or sprinkles for a festive touch!
- Nut Butter Swaps: Not a peanut butter fan? Try using almond butter, cashew butter, or even sunflower seed butter (though the color might change!).
- Extra Flavor: Add a tiny pinch of cinnamon or a drop of almond extract along with the vanilla for a different flavor profile.
- More Chips: Swap the mini chocolate chips for peanut butter chips, white chocolate chips, or even toffee bits.
- Dipping Chocolate: Experiment with different types of chocolate for dipping – white chocolate, milk chocolate, or even a blend.
Tips for Success
These are pretty foolproof, but here are a couple of things I’ve learned along the way:
- Soften That Cream Cheese! I know I mentioned it before, but it’s really key for a smooth, easy-to-mix base. Cold cream cheese will result in lumpy balls.
- Chill Time is Your Friend: Don’t rush the refrigeration step. Those 30 minutes (or more!) make the mixture firm enough to roll properly and give the balls a much better texture.
- Rolling Neatness: If the mixture is sticking to your hands while rolling, try chilling the mixture for 15-20 minutes before you start rolling. You can also lightly dust your hands with powdered sugar or graham cracker crumbs.
- Prep Ahead: You can make the peanut butter cream cheese mixture a day in advance and keep it covered in the fridge. Just let it sit out for 10-15 minutes to soften slightly before rolling. You can also roll the balls and coat them, keeping them in the fridge until you’re ready to add the optional chocolate.
How to Store It
These need to be kept cool to stay firm and delicious.
- Refrigerator: Store the peanut butter cheesecake balls in an airtight container in the refrigerator for up to 5-7 days.
- Freezer: For longer storage, place the chilled balls in a single layer on a baking sheet and freeze until solid (about 1-2 hours). Once solid, transfer them to a freezer-safe airtight container or bag. They should keep well for 1-2 months.
- Thawing: If frozen, you can eat them straight from the freezer (they’ll be like little fudge bites!) or let them sit at room temperature for about 10-15 minutes to soften slightly.
FAQs
Got questions? I’ve got answers!
Q: Can I use natural peanut butter?
A: I recommend using conventional creamy peanut butter for this recipe as it has a more consistent texture and sweetness, which helps the balls hold their shape better. Natural peanut butter tends to be runnier and might make the mixture too soft.
Q: Can I make the mixture ahead of time?
A: Absolutely! You can prepare the peanut butter cream cheese mixture a day ahead and store it, covered, in the refrigerator. Let it soften slightly at room temperature before rolling.
Q: My mixture seems too soft to roll. What should I do?
A: This usually means the cream cheese wasn’t cold enough, or perhaps your peanut butter was very soft. Pop the bowl of mixture into the freezer for 15-20 minutes, then try rolling again. It should firm up nicely.
Q: Do these really taste like cheesecake?
A: While they don’t have the tangy kick of baked cheesecake, the cream cheese gives them a wonderful rich, creamy texture reminiscent of cheesecake filling, especially when combined with the graham cracker crumbs acting like a crust!
Melt-in-Your-Mouth No-Bake Peanut Butter Cheesecake Balls
Ingredients
Equipment
Method
- Step 1: In a large bowl, combine the softened cream cheese and creamy peanut butter. Beat with a hand mixer (or sturdy spoon) until super smooth and creamy.
- Step 2: Add the powdered sugar, vanilla extract, the first 1/2 cup of graham cracker crumbs, and the pinch of salt. Mix until just combined and uniform.
- Step 3: If using, gently fold in the mini chocolate chips with a spoon or spatula until distributed.
- Step 4: Using a tablespoon to measure, scoop out portions of the mixture and roll gently between your palms to form smooth balls. Place balls on a parchment paper-lined tray or plate.
- Step 5: Pour additional graham cracker crumbs into a shallow dish. Roll each ball in the crumbs to coat completely. Place back on the parchment-lined tray. Refrigerate for at least 30 minutes to firm up.
- Step 6: If desired, melt chocolate according to package instructions. Dip the chilled balls halfway or fully into the chocolate, or drizzle over tops. Let chocolate set completely at room temperature or briefly refrigerate until firm.