Introduction

Remember those summer days spent baking with Grandma? This recipe brings back that same cozy feeling, but without the oven! These No-Bake Oreo Bars are ridiculously easy, unbelievably delicious, and perfect for any occasion – from a casual weeknight treat to a crowd-pleasing party dessert. Get ready for a flavor explosion that will have everyone asking for seconds (and thirds!).
Why You’ll Love This Recipe
- Fast: Ready in minutes (plus chilling time!)
- Easy: No baking required – seriously!
- Giftable: Perfect for potlucks, holidays, or just because.
- Crowd-pleasing: Oreos are a universal favorite!
Ingredients
- 1 (36 ounce) package Oreo cookies: The star of the show! I prefer the classic Oreos, but feel free to experiment.
- ½ cup (1 stick) unsalted butter, melted: This helps bind the crust beautifully.
- 8 ounces cream cheese, softened: Make sure it’s nice and soft for easy mixing. Leave it out at room temperature for a while.
- 3 ½ cups powdered sugar: The sweetness that balances the chocolate perfectly.
- 1 teaspoon vanilla extract: A touch of magic to enhance the flavors.
- Optional: Extra Oreo cookies, crushed, for topping: For an extra layer of Oreo goodness!

How to Make It
Let’s get baking… err, I mean, no-baking!
- Pulse Oreo cookies in a food processor until finely crumbed. Alternatively, if you don’t have a food processor, you can crush them in a zip-top bag using a rolling pin. You should have approximately 4 cups of crumbs.
- Combine 2 cups of the Oreo crumbs with the melted butter; mix until everything is evenly moistened. This is your crust!
- Press the crumb mixture firmly into a parchment-lined 9×13 inch baking dish. I like to use my hands to really pack it down for a solid base.
- Beat the softened cream cheese until it’s completely smooth. This makes the filling so creamy and delicious!
- Gradually add the powdered sugar to the cream cheese, beating until everything is well combined. Don’t rush this step – you want a perfectly smooth filling.
- Stir in the vanilla extract. Mmm, that vanilla smell!
- Fold in the remaining 2 cups of Oreo crumbs. Be gentle so you don’t overmix.
- Spread the creamy Oreo filling evenly over the crust. Use a spatula to get it nice and smooth.
- Optionally, sprinkle with extra crushed Oreos for a beautiful and delicious topping.
- Cover the dish and refrigerate for at least 4 hours, or preferably overnight. This allows the bars to set up beautifully.
- When ready to serve, lift the bars from the dish using the parchment paper overhang. Cut into squares and enjoy!
Substitutions & Additions
Feeling creative? Try these swaps:
- Different Oreos: Use double stuf, mint, or even peanut butter Oreos for a flavor twist!
- Chocolate chips: Fold in a cup of chocolate chips to the filling for extra chocolatey goodness.
- Nuts: Add chopped nuts to the crust or the filling for some crunch.
Tips for Success
- Don’t overmix the filling: Overmixing can make the filling tough. Just gently fold in the crumbs.
- Chill thoroughly: The longer you chill the bars, the firmer they’ll be. Patience is key!
- Prep ahead: You can make the crust and filling a day ahead and assemble them just before chilling.
How to Store It
Store leftover No-Bake Oreo Bars in an airtight container in the refrigerator for up to 3 days. They are best served chilled!
FAQs
- Can I freeze these bars? Yes! Wrap them tightly in plastic wrap and then foil, and freeze for up to 2 months. Thaw overnight in the refrigerator before serving.
- What if my cream cheese isn’t soft enough? Microwave it in short intervals (10-15 seconds at a time) until it’s soft and creamy. Be careful not to overheat it.
- Can I use salted butter? Yes, but you may want to reduce the amount of powdered sugar slightly, depending on your preference.
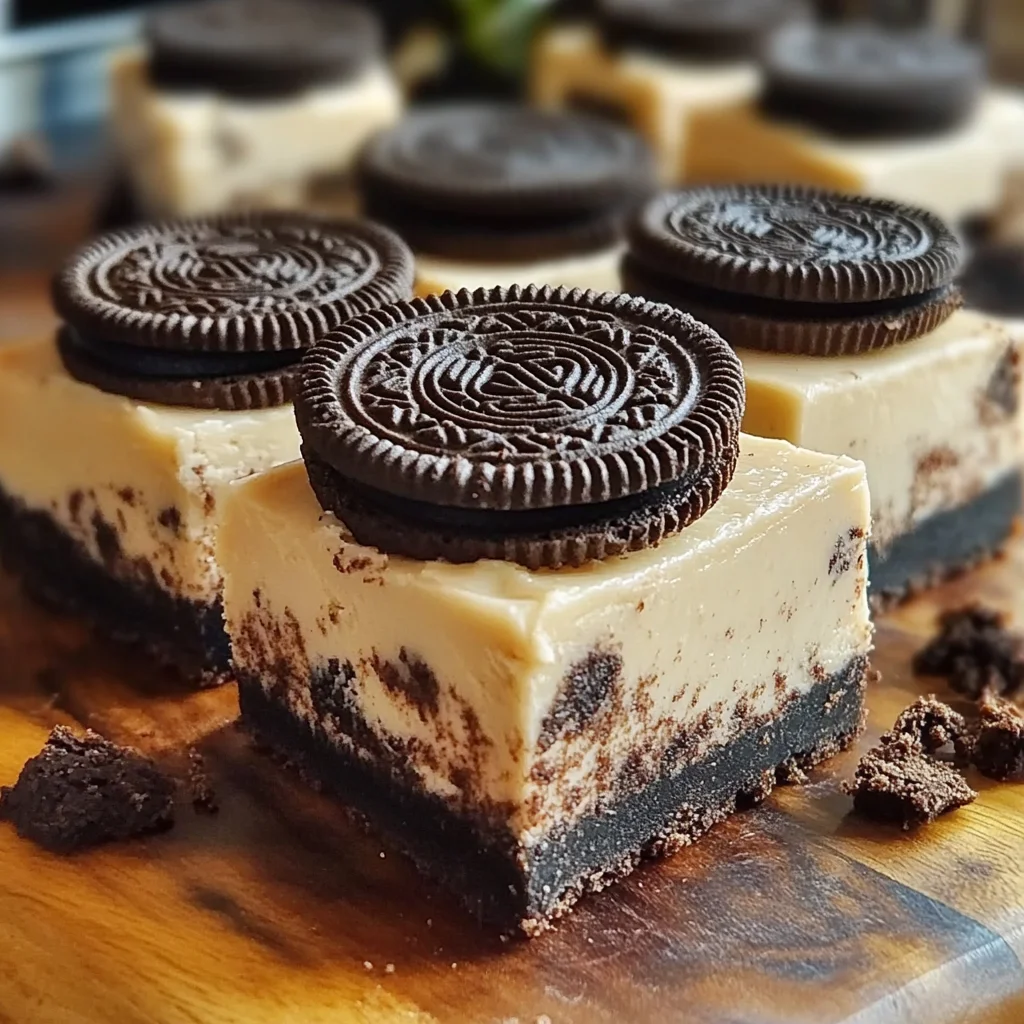
No-Bake Oreo Bars
These No-Bake Oreo Bars are ridiculously easy, unbelievably delicious, and perfect for any occasion. Get ready for a flavor explosion that will have everyone asking for seconds (and thirds!).
Ingredients
Equipment
Method
- Pulse Oreo cookies in a food processor until finely crumbed. Alternatively, crush them in a zip-top bag using a rolling pin. You should have approximately 4 cups of crumbs.
- Combine 2 cups of the Oreo crumbs with the melted butter; mix until everything is evenly moistened. This is your crust!
- Press the crumb mixture firmly into a parchment-lined 9x13 inch baking dish.
- Beat the softened cream cheese until it's completely smooth.
- Gradually add the powdered sugar to the cream cheese, beating until everything is well combined.
- Stir in the vanilla extract.
- Fold in the remaining 2 cups of Oreo crumbs.
- Spread the creamy Oreo filling evenly over the crust.
- Optionally, sprinkle with extra crushed Oreos.
- Cover the dish and refrigerate for at least 4 hours, or preferably overnight.
- When ready to serve, lift the bars from the dish using the parchment paper overhang. Cut into squares and enjoy!
Notes
Substitutions: Different Oreos, chocolate chips, nuts. Tips: Don't overmix filling, chill thoroughly, prep ahead. Storage: Refrigerate up to 3 days, freeze up to 2 months.