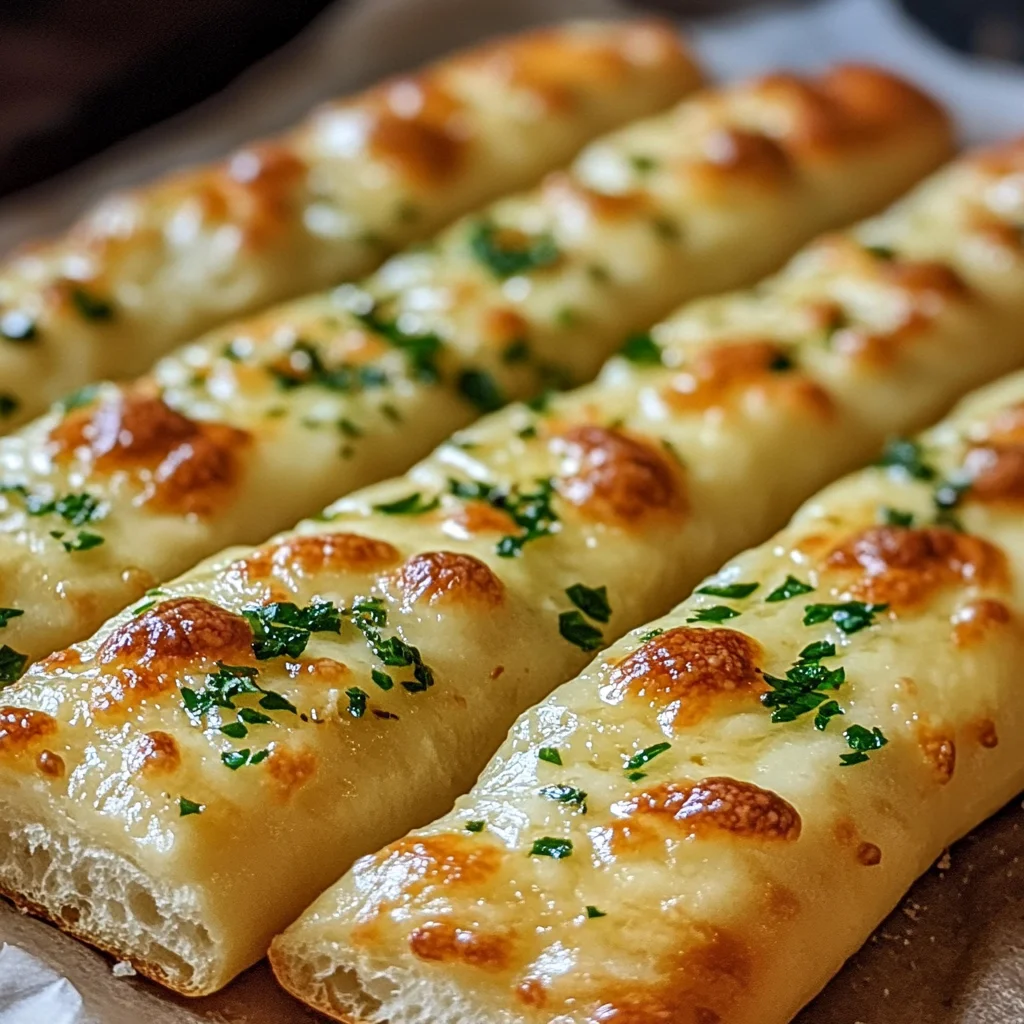
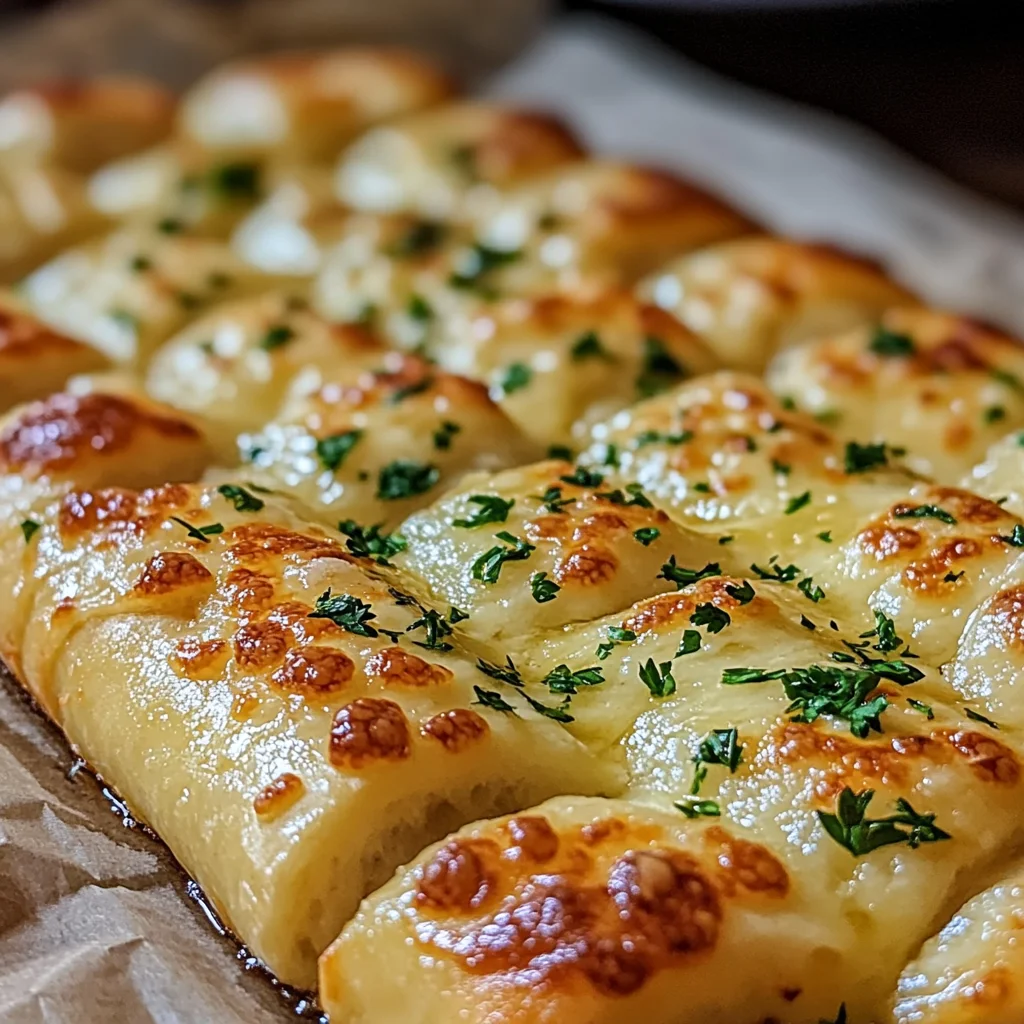
Oh, friends. There are some smells that just instantly transport you, right? For me, the scent of warm, yeasty bread baking, mingled with gooey cheese and savory garlic, is pure comfort. It reminds me of cozy nights in, maybe a big bowl of pasta or a classic pizza night. While store-bought breadsticks are fine in a pinch, there is absolutely nothing like sinking your teeth into a homemade version. And guess what? Making them yourself is SO much easier than you might think! These Cheesy Garlic Breadsticks are soft, flavorful, cheesy, and they disappear faster than you can say “seconds please!” Get ready to make some kitchen magic – and a seriously delicious snack or side.
Why You’ll Love This Recipe
- Fast: Honestly, for a yeasted dough, these come together quicker than many!
- Easy: Perfect for beginners – minimal kneading, simple steps!
- Giftable: Wrap up a warm batch for a friend or neighbor.
- Crowd-pleasing: Who doesn’t love warm, cheesy, garlicky bread?!
Ingredients
Gather ’round, let’s talk about the simple stars of this show. You likely have most of these hanging out in your pantry already!
- All-purpose flour: 2 cups. The base of our lovely dough. Simple and effective!
- Active dry yeast: 1 packet (2 1/4 teaspoons). This is what makes our breadsticks fluffy and light. Make sure it’s not expired!
- Warm water: 3/4 cup. Not hot (that kills the yeast!), not cold (that doesn’t activate it). Think bathwater temperature – usually around 105-115°F (40-46°C).
- Sugar: 1 tablespoon. Just a little bit to give our yeast something yummy to munch on and help activate it.
- Salt: 1 teaspoon. Essential for flavor and controlling the yeast activity. Don’t skip it!
- Olive oil: 2 tablespoons. Adds richness and helps keep the dough tender.
- Garlic powder: 1 teaspoon (plus more for topping). That classic garlic flavor we’re craving!
- Shredded mozzarella cheese: 1 cup. The ultimate melty cheese for that perfect pull.
- Parmesan cheese: 1/4 cup. Adds a salty, nutty depth of flavor that pairs beautifully with the garlic.
- Fresh parsley (optional): For a pop of color and fresh herbiness at the end. Totally optional but makes them look extra fancy!
How to Make It
Ready? Let’s get baking! Follow these steps, and you’ll have warm, cheesy breadsticks in no time.
- Alright, first things first! Grab a large mixing bowl. Pour in your warm water. Sprinkle the yeast and sugar over the top. Give it a little stir – just enough to combine. Now, let this sit for about 5 minutes. You’re looking for it to get nice and foamy and bubbly. This means your yeast is alive and ready to party!
- Once your yeast mixture is looking happy and frothy, it’s time to add the main characters: the flour, olive oil, and salt. Stir everything together with a spoon or a spatula until it starts to come together into a shaggy dough.
- Now, turn that dough out onto a lightly floured surface. Knead it gently for about 5-7 minutes. This develops the gluten, which is what gives the bread structure. You’ll feel it go from a shaggy mess to a smooth, elastic ball. It should spring back slowly when you poke it.
- Time for its first rest! Lightly grease the mixing bowl you used earlier. Place the dough ball inside and turn it so it’s coated in a little oil. Cover the bowl snugly with a clean kitchen towel or plastic wrap. Find a warm spot in your kitchen – maybe on top of the fridge, near a sunny window (but not in direct sun unless it’s cool), or inside a turned-off oven with just the light on. Let it rise for about 1 hour, or until it has roughly doubled in size. Patience is key here!
- While your dough is enjoying its nap and getting bigger, preheat your oven to 425°F (220°C). Also, get your baking sheet ready by greasing it or lining it with parchment paper.
- Okay, dough’s doubled? Great! Give it a gentle punch down – this releases the air. Transfer it back to your floured surface. Use a rolling pin to roll the dough out into a rectangle shape, aiming for about 1/2 inch thickness. Don’t worry about perfect edges!
- Now for the fun part: cutting and topping! Use a knife or a pizza cutter to cut the dough into strips. The size is up to you – maybe 1 inch wide for traditional breadsticks, or a little wider for chunkier ones. Carefully transfer these strips to your greased baking sheet, leaving a little space between them. Brush the tops of the breadsticks generously with melted butter. Sprinkle them with more garlic powder (because you can never have too much!), followed by that glorious shredded mozzarella and finally the Parmesan cheese.
- Almost ready for the oven! Cover the breadsticks on the baking sheet loosely with that clean towel again. Let them rest and rise for another 20 minutes. This second rise helps them get extra fluffy.
- Into the preheated oven they go! Bake for 12-15 minutes. You’re looking for them to be beautifully golden brown, especially on the bottom, and for that cheese to be melted, bubbly, and maybe even a little crispy around the edges.
- Carefully remove the baking sheet from the oven. Let the breadsticks cool on the sheet for just a minute or two – they’ll be hot! Transfer them to a serving platter. If you’re using fresh parsley, sprinkle it over the top now for a lovely finish. Serve warm and watch them disappear!
Substitutions & Additions
This recipe is wonderful as is, but don’t be afraid to play around and make it your own! Here are a few ideas:
- Cheeses: Mix up the cheese! Add a little shredded provolone, white cheddar, or even some Monterey Jack alongside or instead of the mozzarella. A sprinkle of smoked Gouda could be interesting!
- Herbs: Stir dried Italian herbs (like oregano, basil, thyme) into the dough or sprinkle them on top with the cheese. Fresh chopped rosemary or chives would also be lovely added with the parsley at the end.
- Spicy Kick: Add a pinch of red pepper flakes to the topping for a little heat.
- Garlic Butter: Instead of just melted butter and dry garlic powder on top, make a simple garlic butter mixture! Melt the butter and stir in minced fresh garlic (about 1-2 cloves) or more garlic powder before brushing it onto the dough strips.
- Everything Bagel Seasoning: Okay, hear me out – a sprinkle of everything bagel seasoning over the cheese before baking? Delicious!
Tips for Success
Making bread is rewarding, and these tips will help ensure your breadsticks turn out perfectly every time:
- Check Your Yeast: Make sure your yeast isn’t expired. The frothing step is key – if your water/yeast/sugar mixture doesn’t get foamy after 5-10 minutes, your yeast might be dead, and your dough won’t rise. Start over with fresh yeast.
- Water Temperature Matters: Too hot kills the yeast, too cold it won’t activate properly. Use a thermometer if you’re unsure, aiming for that 105-115°F range.
- Don’t Skip the Kneading: Kneading develops the gluten, which gives the bread structure and that satisfying chew. Don’t rush it! 5-7 minutes is usually enough by hand until it feels smooth and elastic.
- Find a Warm Spot for Rising: Yeast loves warmth! If your kitchen is cool, finding a warm place is crucial for a good rise. The oven-with-light-on trick works great.
- Don’t Over-Flour: Use just enough flour on your surface to prevent sticking while kneading and rolling. Too much flour will make your breadsticks tough.
- The Second Rise is Important: That second 20-minute rise on the baking sheet helps the breadsticks become lighter and fluffier in the oven.
- Make Ahead: You can make the dough up through step 4 (the first rise). After the first rise, punch it down, shape the breadsticks, and place them on the baking sheet. Instead of the second rise, cover them well and refrigerate for up to 24 hours. When ready to bake, take them out of the fridge while the oven preheats, let them sit for 15-20 minutes at room temp (they might not rise much more when cold), then bake as directed.
How to Store It
Let’s be real, there usually aren’t many leftovers! But if you happen to have some Cheesy Garlic Breadsticks that survive, here’s how to keep them:
Store cooled breadsticks in an airtight container or a resealable plastic bag at room temperature for 1-2 days. For longer storage, you can refrigerate them for up to 4-5 days. They will lose a little softness in the fridge.
To reheat and bring them back to their cheesy glory, wrap them loosely in foil and warm them in a 350°F (175°C) oven for about 5-10 minutes, or pop them in a toaster oven or air fryer for a few minutes until hot and the cheese is soft again.
FAQs
Got questions? I’ve got answers!
Can I use instant yeast instead of active dry yeast?
Yes, you absolutely can! Instant yeast is a little more vigorous and doesn’t require the initial proofing step in water. You can technically just add it directly to the flour mixture with the other dry ingredients, then add the warm water and oil. However, I often still mix instant yeast with the warm water just to be sure it’s active and get that little head start.
What if my dough doesn’t rise?
This is usually due to inactive yeast or the water temperature being too hot or too cold. If your yeast/water/sugar mixture didn’t get frothy in step 1, the yeast is likely dead. If it did get frothy but the dough didn’t rise, your rising spot might be too cold, or you didn’t knead enough. Ensure your yeast is fresh and try finding a warmer spot for the rise next time!
Can I add fresh garlic instead of garlic powder?
You sure can! Minced fresh garlic has a different, more pungent flavor. I’d recommend adding it to the melted butter before brushing onto the breadsticks, rather than mixing it into the dough, as it can sometimes interfere with the yeast activity. Use 1-2 cloves, finely minced.
How many breadsticks does this recipe make?
This depends entirely on how wide you cut your strips! If you cut them about 1 inch wide from a standard rectangle shape, you’ll likely get anywhere from 12-18 breadsticks. Plenty to share… or not! 😉

Homemade Cheesy Garlic Breadsticks
Ingredients
Equipment
Method
- Step 1: Activate Yeast. In a large mixing bowl, pour warm water. Sprinkle yeast and sugar over top. Stir gently to combine. Let sit for about 5 minutes until foamy and bubbly.
- Step 2: Combine Ingredients. To the yeast mixture, add flour, olive oil, and salt. Stir with a spoon or spatula until a shaggy dough forms.
- Step 3: Knead Dough. Turn dough onto a lightly floured surface. Knead gently for about 5-7 minutes until smooth and elastic.
- Step 4: First Rise. Lightly grease the mixing bowl. Place dough ball inside and turn to coat. Cover snugly with a towel or plastic wrap. Let rise in a warm spot for about 1 hour, or until doubled in size.
- Step 5: Preheat Oven and Prep Pan. While dough rises, preheat oven to 425°F (220°C). Grease or line a baking sheet with parchment paper.
- Step 6: Shape Breadsticks. Gently punch down risen dough. Transfer to floured surface. Roll into a rectangle about 1/2 inch thick. Cut into strips (about 1 inch wide) using a knife or pizza cutter.
- Step 7: Top Breadsticks. Carefully transfer strips to the greased baking sheet, leaving space between. Brush tops generously with melted butter. Sprinkle with more garlic powder, shredded mozzarella, and Parmesan cheese.
- Step 8: Second Rise. Loosely cover breadsticks on the sheet with a towel. Let rest and rise for another 20 minutes.
- Step 9: Bake. Bake in the preheated oven for 12-15 minutes, until golden brown and cheese is melted and bubbly.
- Step 10: Serve. Carefully remove from oven. Let cool on sheet for a minute or two. Transfer to a platter. Sprinkle with fresh parsley (if using). Serve warm.